1. Importing the raw micrographs
The first step is to get the raw micrographs into the Doppio project. On the top left panel select the NEW JOB tab. Scroll down the left hand panel to find the Import category and select the Import movies or raw micrographs job. You can alternatively filter through the list of available jobs by searching for the job name in the Filter jobs by name or description box, expanding the Import and then click on the Import movies or raw micrographs job. This will open a window in the right hand panel with job options.
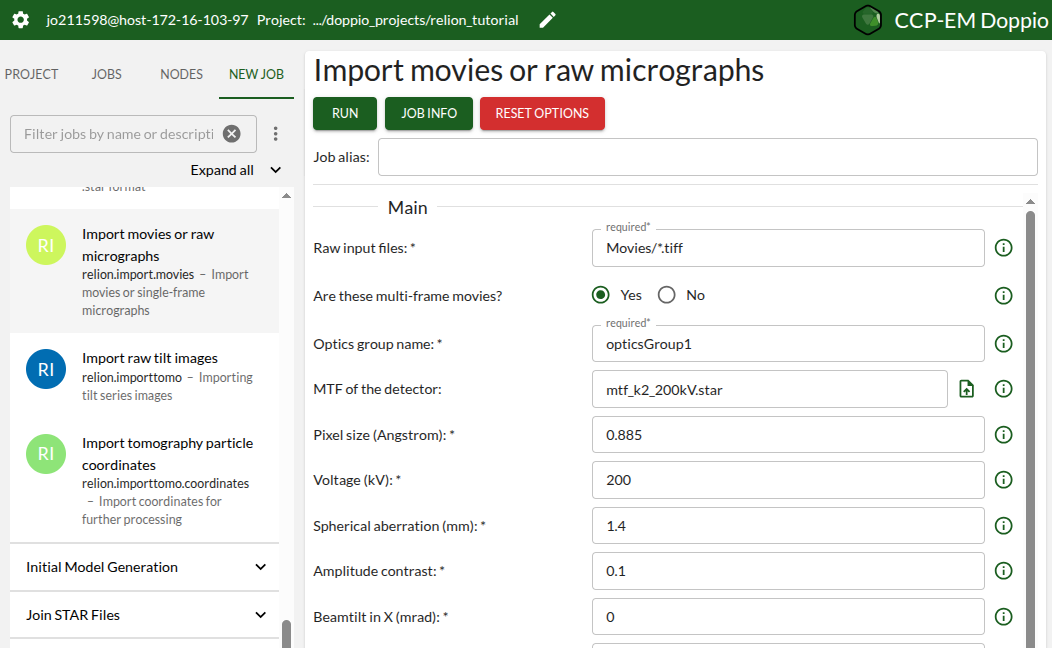
Update the following fields, parameters not listed can be left with the default values.
Raw input files:: Movies/*.tiff
NOTE: The default value in the 'Raw input files' field actually contains ‘tif’ instead of ‘tiff’ - make sure to amend that. Once that is done, the GUI should show in blue text below the box stating that 24 files are found.

Are these multi-frame movies?:: Yes

MTF of the detector:: mtf_k2_200kV.star
NOTE: type this into the text box - the upload icon cannot be used here

Pixel size (Å):: 0.885

Voltage (kV):: 200

Spherical aberration (mm):: 1.4
Press the RUN button at the top of the panel to start the job. The job window will switch to the LOGS tab while the job executes, which should be very quick. If you switch to the JOBS tab on the top-left panel you will notice that a new 1-Import-no alias job has been added to the list. It should take less than 10 secs to execute.
Now let’s look at the results. Click on the RESULTS tab on the top right panel to show the results page:
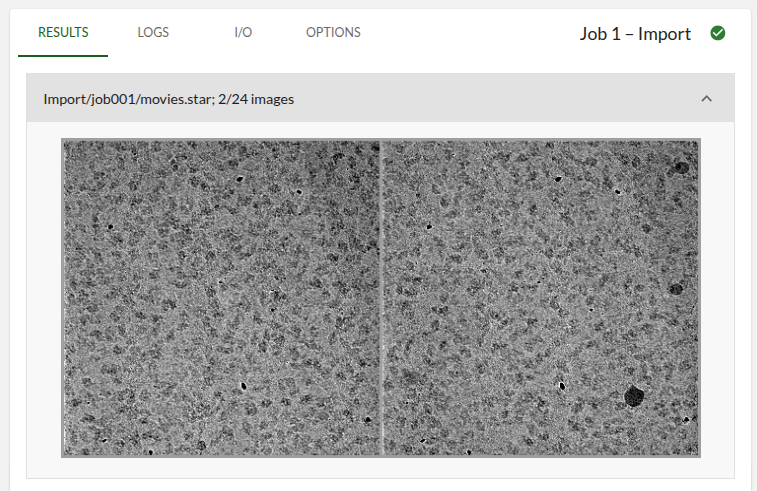
It might take a few seconds to load depending on the connection bandwidth and latency. This page is specifically tailored to each job type. For the Import Micrographs job it shows a montage of random two micrograph movies, with a single frame displayed for each micrograph. They don’t look like much yet!